My old worldspace is officially dead. Again, back up your files! This means I get to start over from scratch. In light of this, I thought I’d put up a tutorial on how I got a real-world heightmap into Skyrim.
To create a Skyrim-compatible heightmap, I used this fabulous tutorial. Skyrim (and Oblivion before it) have very particular requirements for a heightmap to work correctly. Most importantly, Skyrim can’t handle extremes in height changes. Once your heightmap is finished, you have to lower the values into the range that Skyrim can handle. I’ll go more into that later.
What you will need:
Photoshop (I use CS5)
To get a real-world location into Skyrim, we have to start with some satellite imagery converted into a grayscale heightmap. Fortunately, modders for the game Cities: Skylines have created a perfect tool for this purpose. Visit this site to get started. The terrian.party tools are fairly straightforward to use. Move the blue box to the part of the world your want (I am using Lassen Volcanic National Park in Northern California), resize it to encompass the amount of terrain you want, and click on the Export button. Give your exported area a name, and voila!
The next part of this tutorial relies on Adobe Photoshop. I use Photoshop exclusively to edit heightmaps. For GIMP users, go here.
Open Photoshop and start a new file with the following settings: 4096 pixels by 4096 pixels, Grayscale, 16-bit. These settings are crucial for TESanwynn to generate the worldspace.
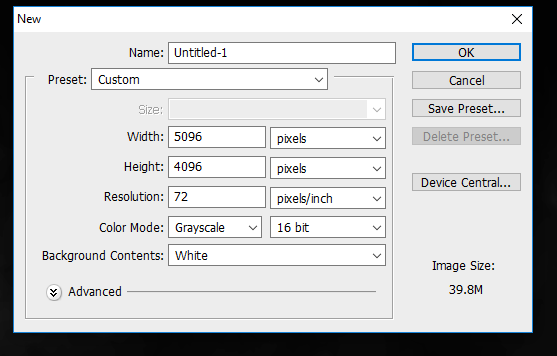
Find your downloaded terrain files. These will be in a .zip archive. Extract those files to a place where you can find them. In Photoshop go to File>Place and place the (yourterrainname)(merged) image into your terrain. Resize the placed image to fill the file. If your exported terrain is too small, go back to terrain.party and grab a bigger chunk of terrain. You don’t want to have to resize the placed image too much (or at all, ideally).
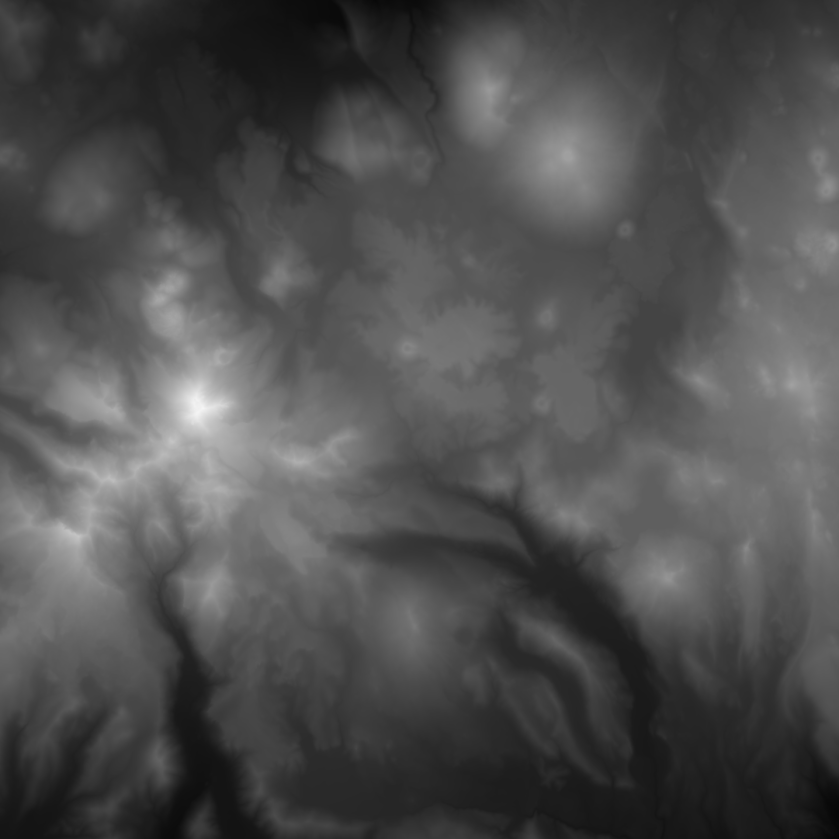
Now that I have my heightmap in Photoshop, I have to tweak it a bit into a worldspace. I’m choosing to make Amblu Kai an island worldspace, so I’ll have to define some coastlines. Depending on your terrain, you may be able to do this entirely in the Creation Kit by setting your sea level.
I created my coastlines by adding a new layer set to Multiply and filling in the areas I want as ocean basin with 60% gray. Setting the blend option to multiply allows the base terrain to show through, creating a varied ocean basin rather than a flat one.
I want to preserve the natural lakes and creeks present in this heightmap. At the default brightness, it is possible to find the major water bodies without too much difficultly. After making the necessary adjustments for Skyrim, much of that detail gets lost, though. Adding a layer for creeks and a layer for lakes, I defined these areas using 50% gray. Both layers are set to multiply.
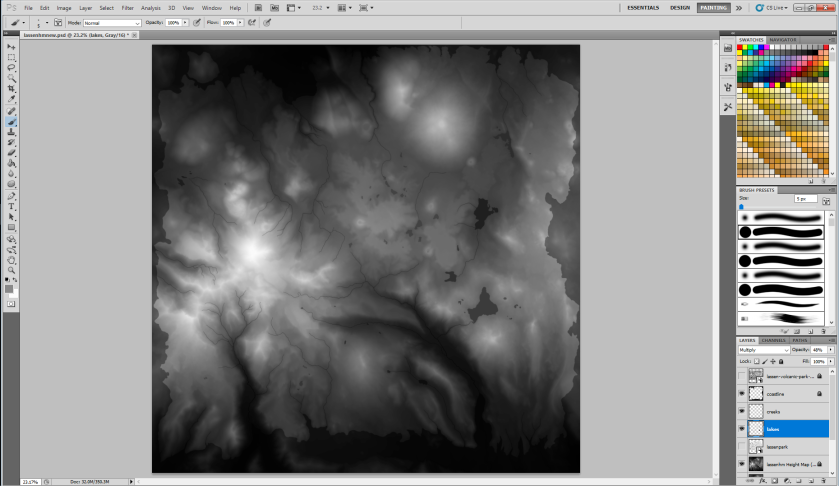
Looks better, but Skyrim can’t handle sudden shifts in terrain, and those sharp edges will look artificial. I made duplicates of my coastlines, lakes and creeks layers and added a Gaussian Blur filter to each layer. Play with the amount to see what looks best for your heightmap.
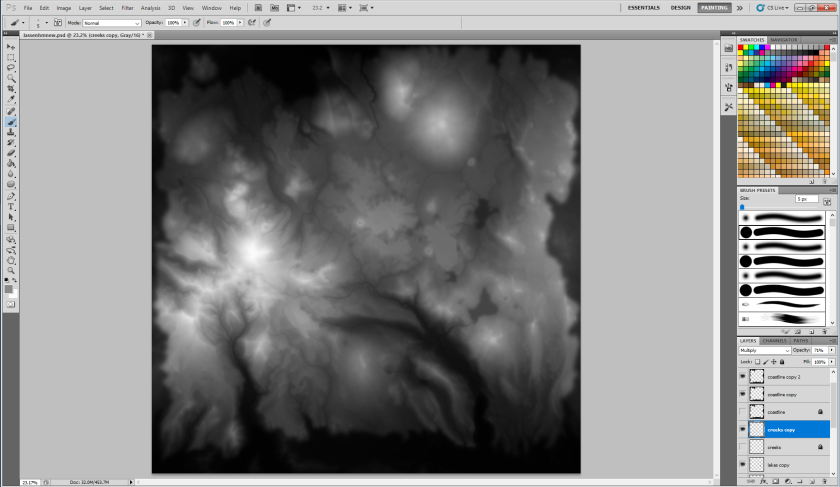
Better. Now, to make the file compatible with Skyrim. Skyrim can only handle a heightmap where all values are below 76% black. In a grayscale image, values are defined by the percentage of black, with pure white being 0% black and pure black being 100% black. I took a copy of the base heightmap and copies of my blurred coastlines, lakes and creeks layers and merged them into a single layer. I did not flatten the entire image in case I wanted to go back and make changes later. Go to Image>Adjustments>Brightness/Contrast and lower the brightness to -150. Then lower the brightness again by -150. Grab the eyedropper tool and check your highest terrain to make sure that the k value is 76% or higher.
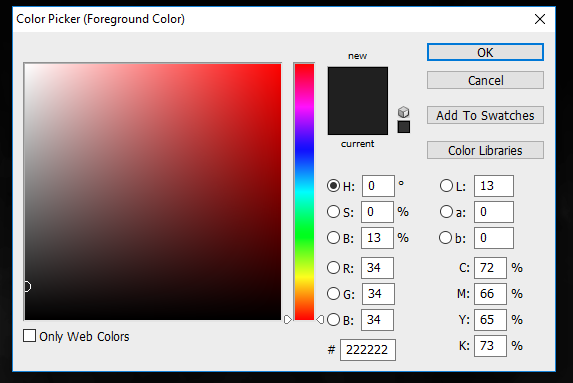
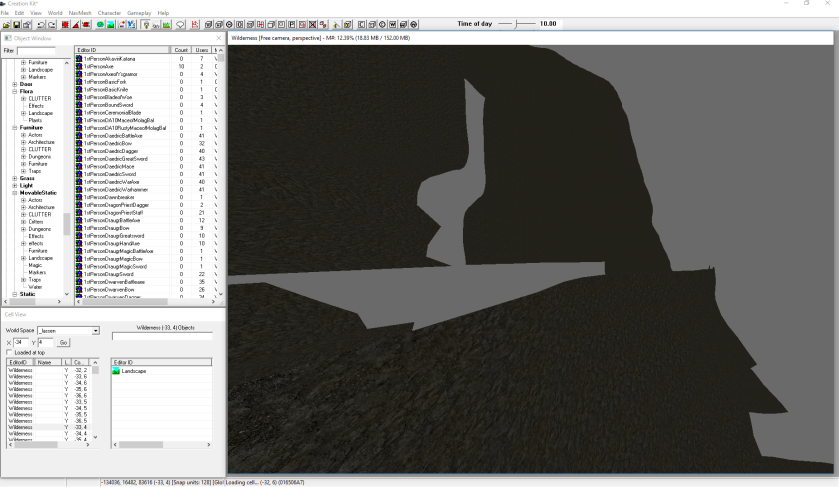
Any values brighter than 76% black will result in tearing of your terrain. See below:
Now I’ve got my heightmap values toned down appropriately. I’m going to use TESAnnwyn to generate an .esp file. To do that, the image needs to be flipped and saved as a .RAW file.
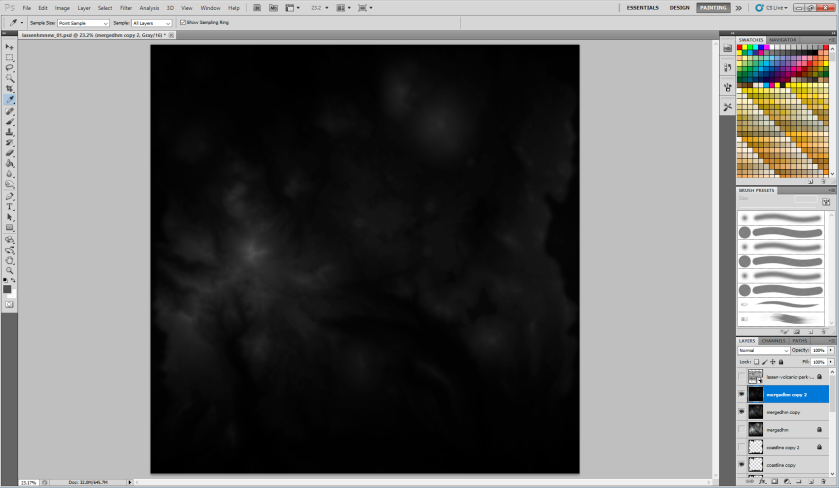
Go to Image>Image Rotation>Flip Image Vertically. Save the file with the following settings: .RAW, 16 bit, Non-Interleaved, IBM PC. Place the .RAW file into the TESannwyn directory. TESannwyn will flip the image back during generation.
Launch the TESannwyn command prompt. Copy the following line and paste it into the command prompt:
TESAnnwyn.exe -i Skyrim -p 1 -b 16 -d 4096×4096 -x -64 -y -64 -h -22192 -w NameOfWorldspace YourImage.raw
Replace “NameOfWorldspace” with whatever you want your new worldspace to be called and “YourImage” with the .raw file name of your heightmap in the TESannwyn directory. Hit Enter. Let TESannwyn run. Once it finishes, find the tesannwyn.esp file and move it to your Skyrim/Data folder.
Open the Creation Kit and check out your worldspace. Rotate your viewpoint to check out where your water level is. You will need to change the default and lod water and land level settings in the worldspace settings. Refer to the Hoddminir guide for more info on land and water level settings.
To check out your worldspace in-game, open Skyrim with your new .esp active and open the console with ~. Type cow “yourworldspacename” 0,0. Hit Enter. If you like what you see, then move on to LOD generation. If not, head back to Photoshop, make whatever adjustments are necessary, and repeat the .esp generation with TESannwyn.
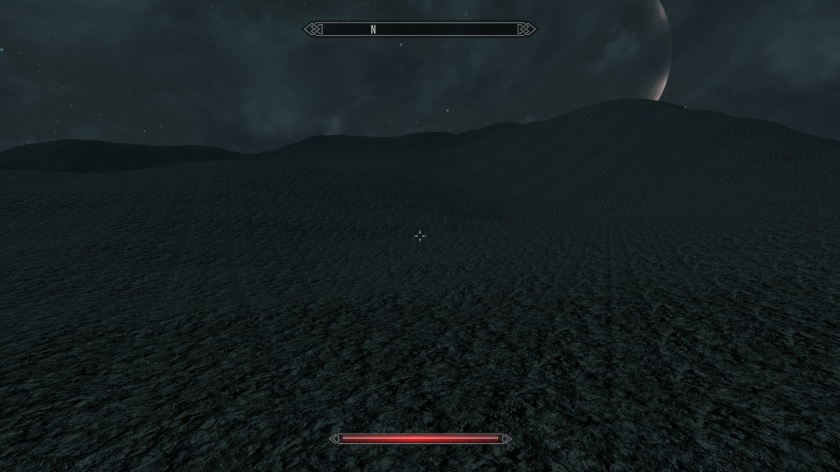
Not bad.
The Skyrim Creation Kit can have issues opening large worldspace .esps. To get around this, I convert my new .esp into an .esm, or mater file. I do this using Wrye Bash. Open Wrye BAsh, find your new .esp (most likely still named tesannwyn.esp) and right click on it. I duplicate the file, rename it to the name of my mod, and then select Copy to ESM from the right click menu. Now I have an .esm file. I open this in the Creation kit, load in the Skyrim .esm, and save a new .esp. I like to maintain redundant files so that if something catatrophic happens I have a backup. By default, the Creation kit will only load one master file and will crash when trying to load multiple esms. To get around this, open your SkyrimEditor.ini and add bAllowMultipleMasterLoads=1 under General.
If your copy of the Creation Kit crashes every 15 minutes, give this fix a try: Open SkyrimEditor.ini and add bEnableAudio=0 to the [Audio] section (if it has bEnableAudio=1 already, set it to 0). This worked for me. I can now leave the creation kit open for hours without a single crash. There is one caveat to this: With this .ini edit, the creation kit will crash on exit and will have to be closed using the task manager. I always save my .esp before closing, so this isn’t an issue for me.
LOD can be generated either in the Creation Kit or using OSCAPE. I’ve used both, but for this worldspace, I’m using the Creation Kit. In the kit, go to World>World LOD. Select your worldspace. We will generate LOD terrain, normals, and diffuse colors (textures) separately. Doing all three at once causes the kit to crash. I start with terrain by selecting Distant Terrain/Water and making sure Distant Objects, Trees, Normals and Diffuse Colors are unselected. Hit Generate. This will take some time. You can choose to run the generation in the background or high priority. High Priority will go faster, but will use most of your computer’s power. Repeat this process with Normals and Diffuse Colors. If you would like to use OSCAPE, check out this guide. Once finished, you will have to move the texture files from Steam/steamapps/common/Source to Skyrim/Data/Textures/Terrain. Check out this guide for creating LODS with the Creation Kit for more information and what to do to prevent black striping.