Pushing Skyrim’s Heightmap to its Limits!

newhmsuccess01.PNG

The new heightmap is looking great. I mean really great! Sometimes adversity can be a blessing in disguise. I’m still salty about losing the work I put into the old one, though. Oh well. Back up, back up, back up.

I decided to see what happened if I bent the rules a bit and let some of my terrain creep into the danger zone past 76% black. This is a very mountainous worldspace with lots of changes in height, some of it extreme, and darkening the heightmap enough to get below the 76% black cutoff causes me to lose a lot of terrain detail.

ScreenShot493

Oh yeah! Them’s some good lookin’ mountains!

Okay, I can see some issues. The highest peaks have turned into jagged, sawtooth edges. It doesn’t look bad, but those wont be fun to climb in-game. Still, I’m more than happy with the rest of the map. I’ll hand-edit each peak in the Creation Kit using the smooth feature in the landscape editor. I’m not touching that heightmap editor with a 10-foot pole.

Its important to hop in game regularly and check out your worldspace. The landscape rendered in the Creation Kit can look a lot different than in-game. Case in point:

newhmsuccess01

Looks pretty good, right?

ScreenShot482

Yikes, that’s a deep crater! The rim is way too sharp, so I’ll smooth it down a bit.

ScreenShot484

ScreenShot495

ScreenShot478

ScreenShot488

I’ve started making more assets for the worldspace. I needed some volcanic water, but I wasn’t happy with the vanilla volcanic water. This is what I’m going for:

lavo57328.jpeg

That lake is called Boiling Springs Lake, and it’s even more spectacular in person. Yes, it is actually boiling. I’ll be replicating this site in-game.

ScreenShot491

First try at some new volcanic water. This is done by creating a new Water Type and messing with the settings.

Fun times!

A New Heightmap

My old worldspace is officially dead. Again, back up your files! This means I get to start over from scratch. In light of this, I thought I’d put up a tutorial on how I got a real-world heightmap into Skyrim.

To create a Skyrim-compatible heightmap, I used this fabulous tutorial. Skyrim (and Oblivion before it) have very particular requirements for a heightmap to work correctly. Most importantly, Skyrim can’t handle extremes in height changes. Once your heightmap is finished, you have to lower the values into the range that Skyrim can handle. I’ll go more into that later.

What you will need:

Photoshop (I use CS5)

terrain.party

TESanywnn


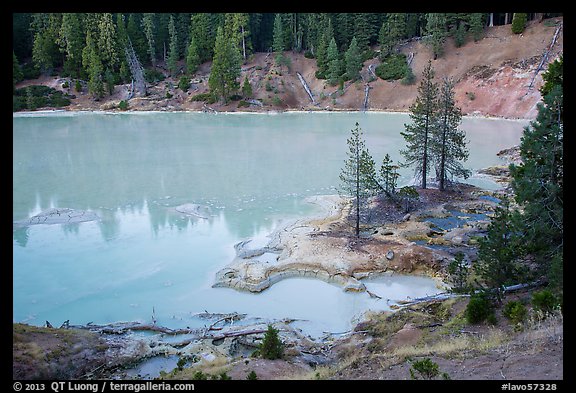
To get a real-world location into Skyrim, we have to start with some satellite imagery converted into a grayscale heightmap. Fortunately, modders for the game Cities: Skylines have created a perfect tool for this purpose. Visit this site to get started. The terrian.party tools are fairly straightforward to use. Move the blue box to the part of the world your want (I am using Lassen Volcanic National Park in Northern California), resize it to encompass the amount of terrain you want, and click on the Export button. Give your exported area a name, and voila!

The next part of this tutorial relies on Adobe Photoshop. I use Photoshop exclusively to edit heightmaps. For GIMP users, go here.

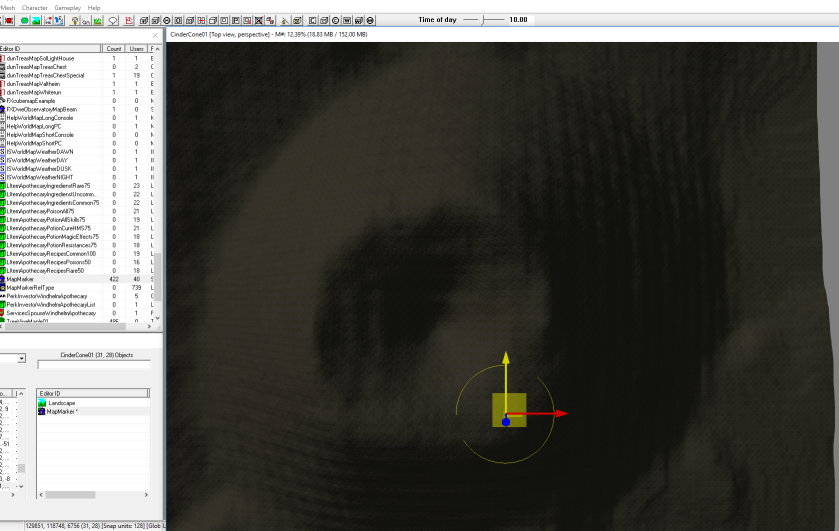
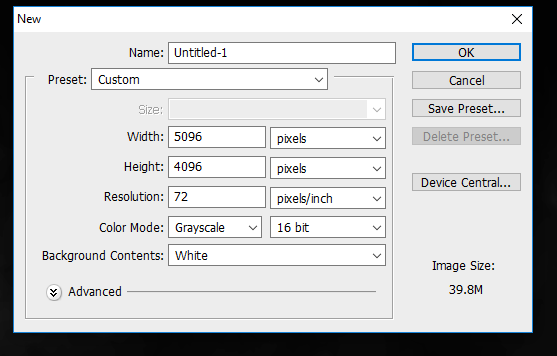
Open Photoshop and start a new file with the following settings: 4096 pixels by 4096 pixels, Grayscale, 16-bit. These settings are crucial for TESanwynn to generate the worldspace.

newhmsettings.PNG

Find your downloaded terrain files. These will be in a .zip archive. Extract those files to a place where you can find them. In Photoshop go to File>Place and place the (yourterrainname)(merged) image into your terrain. Resize the placed image to fill the file. If your exported terrain is too small, go back to terrain.party and grab a bigger chunk of terrain. You don’t want to have to resize the placed image too much (or at all, ideally).

lassenhm Height Map (Merged)

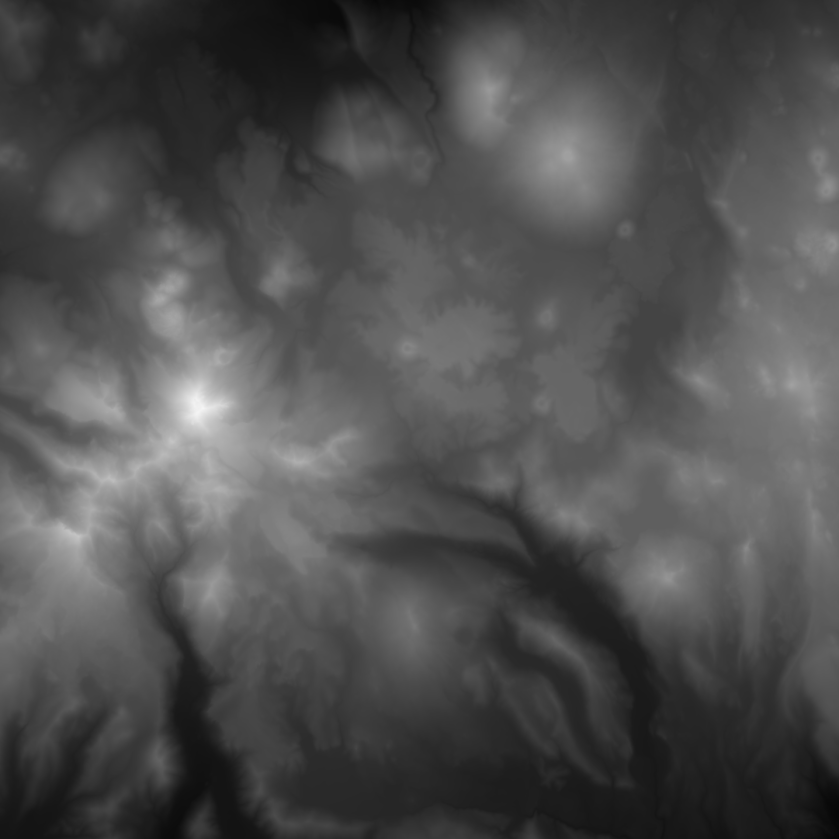
Now that I have my heightmap in Photoshop, I have to tweak it a bit into a worldspace. I’m choosing to make Amblu Kai an island worldspace, so I’ll have to define some coastlines. Depending on your terrain, you may be able to do this entirely in the Creation Kit by setting your sea level.

I created my coastlines by adding a new layer set to Multiply and filling in the areas I want as ocean basin with 60% gray. Setting the blend option to multiply allows the base terrain to show through, creating a varied ocean basin rather than a flat one.

I want to preserve the natural lakes and creeks present in this heightmap. At the default brightness, it is possible to find the major water bodies without too much difficultly. After making the necessary adjustments for Skyrim, much of that detail gets lost, though. Adding a layer for creeks and a layer for lakes, I defined these areas using 50% gray. Both layers are set to multiply.

newhmprogress

Looks better, but Skyrim can’t handle sudden shifts in terrain, and those sharp edges will look artificial. I made duplicates of my coastlines, lakes and creeks layers and added a Gaussian Blur filter to each layer. Play with the amount to see what looks best for your heightmap.

newhmprogress04

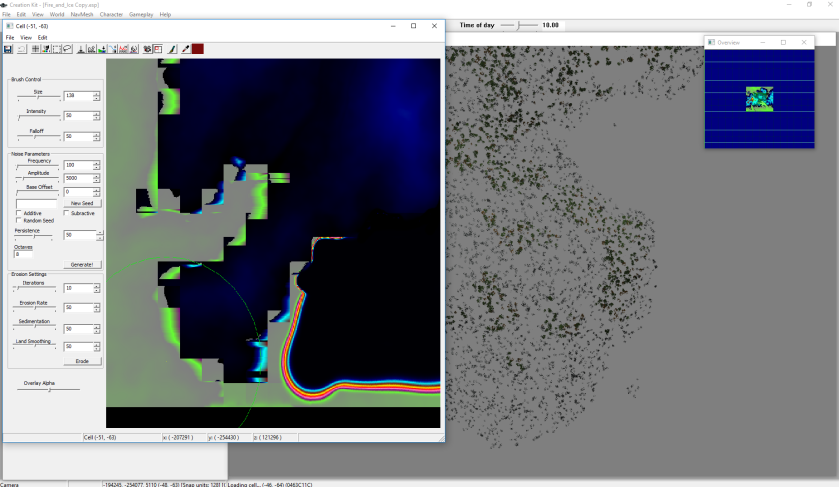
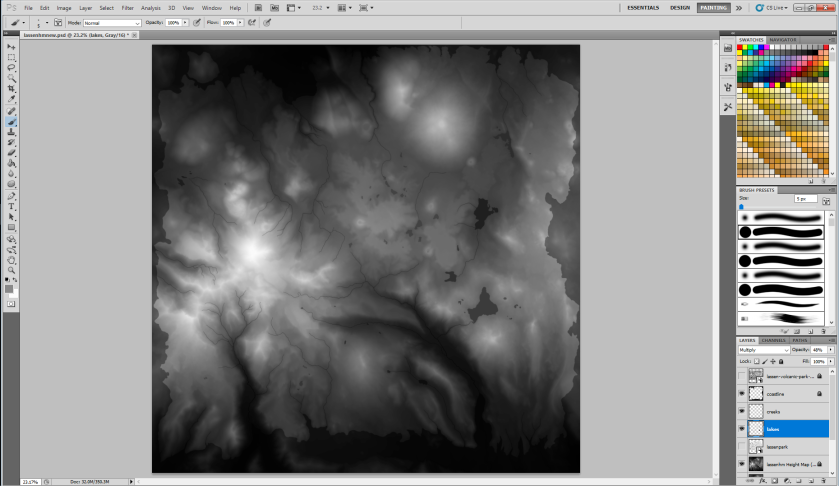
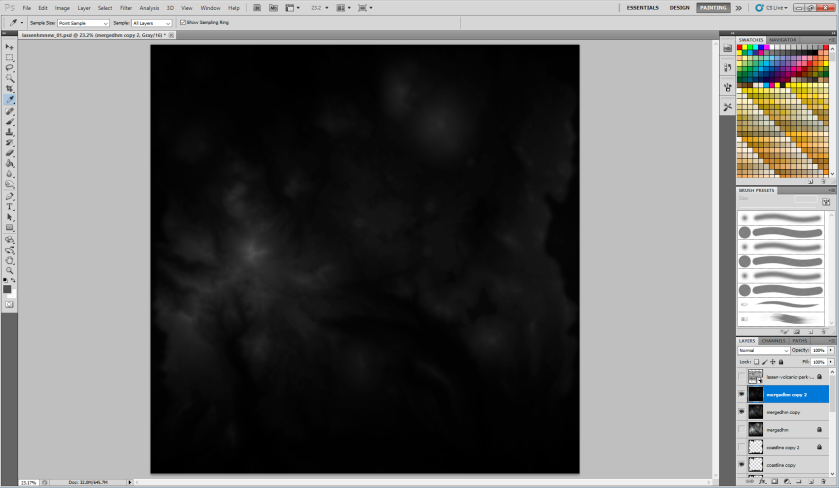
Better. Now, to make the file compatible with Skyrim. Skyrim can only handle a heightmap where all values are below 76% black. In a grayscale image, values are defined by the percentage of black, with pure white being 0% black and pure black being 100% black. I took a copy of the base heightmap and copies of my blurred coastlines, lakes and creeks layers and merged them into a single layer. I did not flatten the entire image in case I wanted to go back and make changes later. Go to Image>Adjustments>Brightness/Contrast and lower the brightness to -150. Then lower the brightness again by -150. Grab the eyedropper tool and check your highest terrain to make sure that the k value is 76% or higher.

newhmprogresssettings01

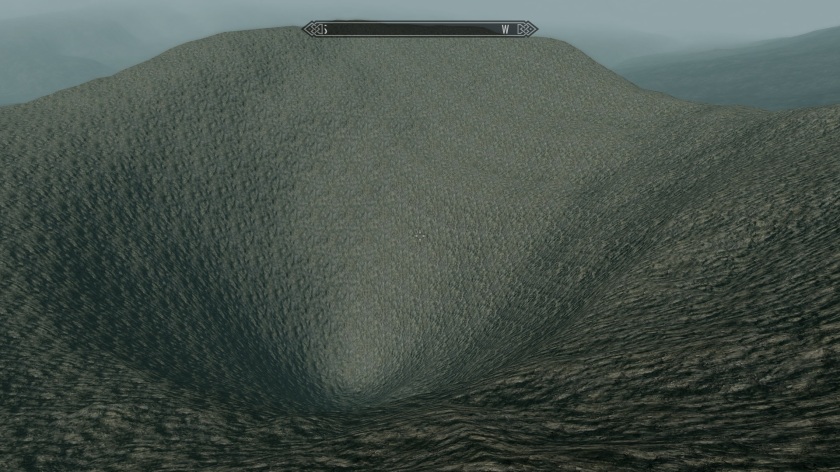
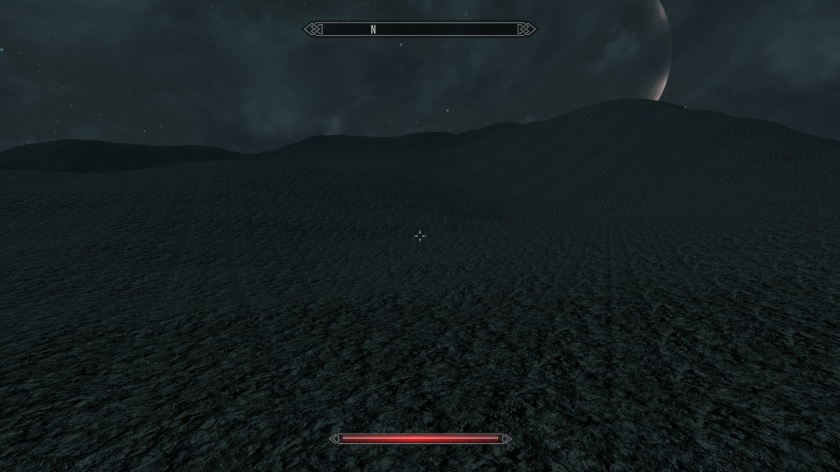
Any values brighter than 76% black will result in tearing of your terrain. See below:

newhmprogress06

Now I’ve got my heightmap values toned down appropriately. I’m going to use TESAnnwyn to generate an .esp file. To do that, the image needs to be flipped and saved as a .RAW file.

newhmprogress05

Go to Image>Image Rotation>Flip Image Vertically. Save the file with the following settings: .RAW, 16 bit, Non-Interleaved, IBM PC. Place the .RAW file into the TESannwyn directory. TESannwyn will flip the image back during generation.

Launch the TESannwyn command prompt. Copy the following line and paste it into the command prompt:

TESAnnwyn.exe -i Skyrim -p 1 -b 16 -d 4096×4096 -x -64 -y -64 -h -22192 -w NameOfWorldspace YourImage.raw

Replace “NameOfWorldspace” with whatever you want your new worldspace to be called and “YourImage” with the .raw file name of your heightmap in the TESannwyn directory. Hit Enter. Let TESannwyn run. Once it finishes, find the tesannwyn.esp file and move it to your Skyrim/Data folder.

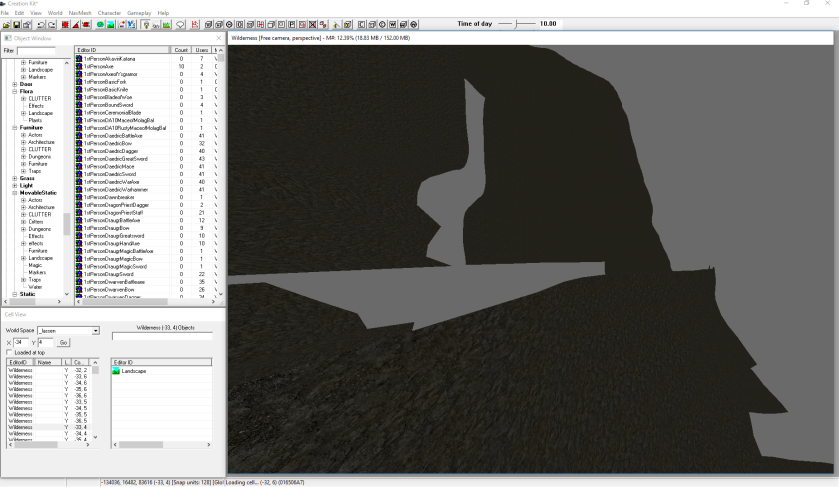
Open the Creation Kit and check out your worldspace. Rotate your viewpoint to check out where your water level is. You will need to change the default and lod water and land level settings in the worldspace settings. Refer to the Hoddminir guide for more info on land and water level settings.

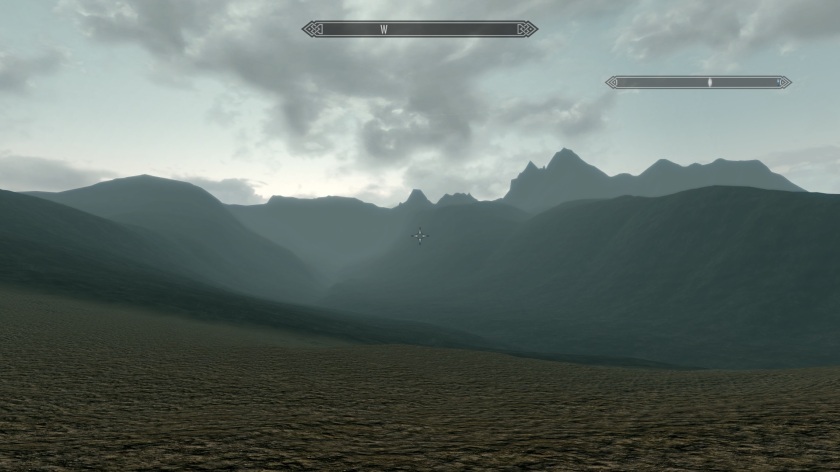
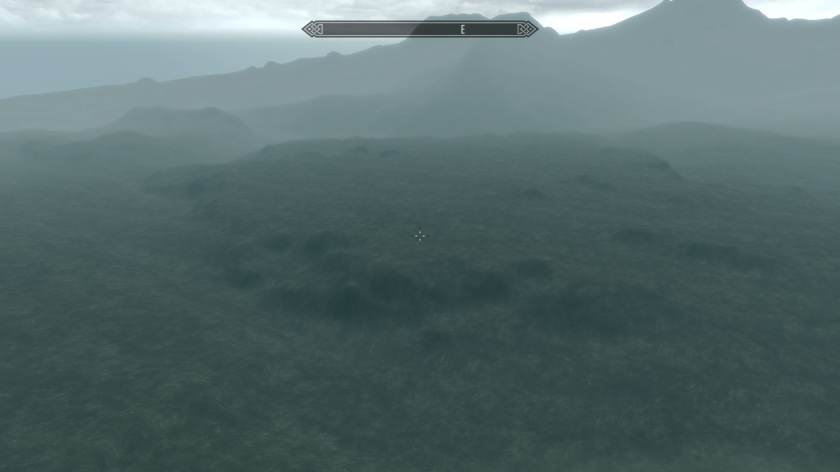
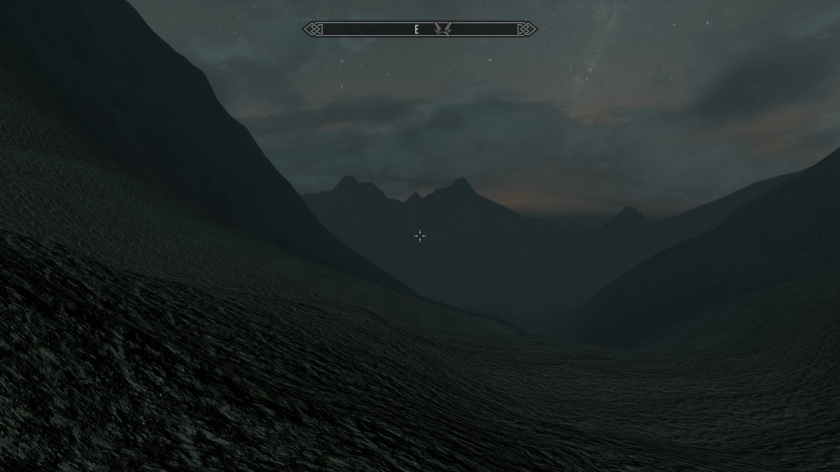
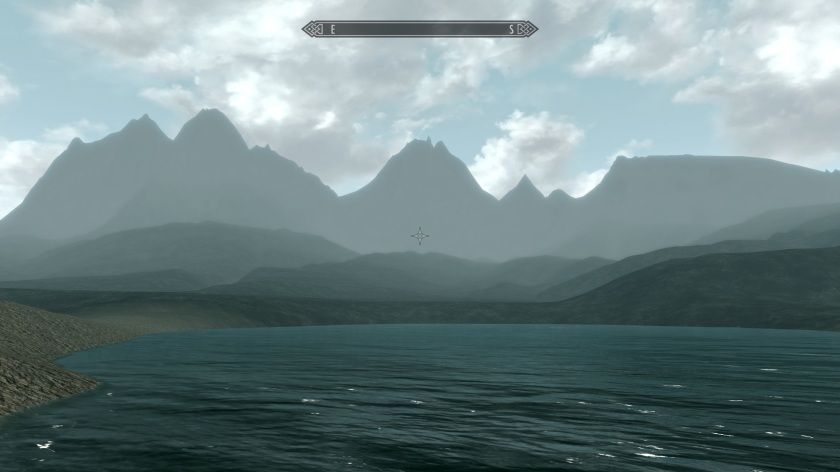
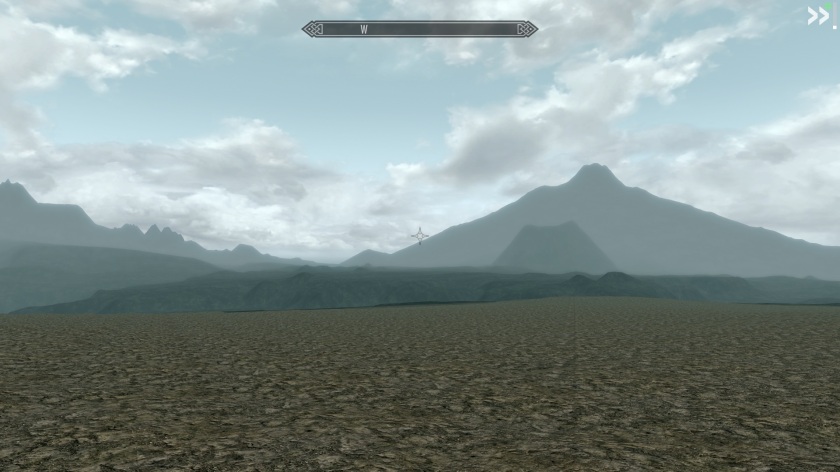
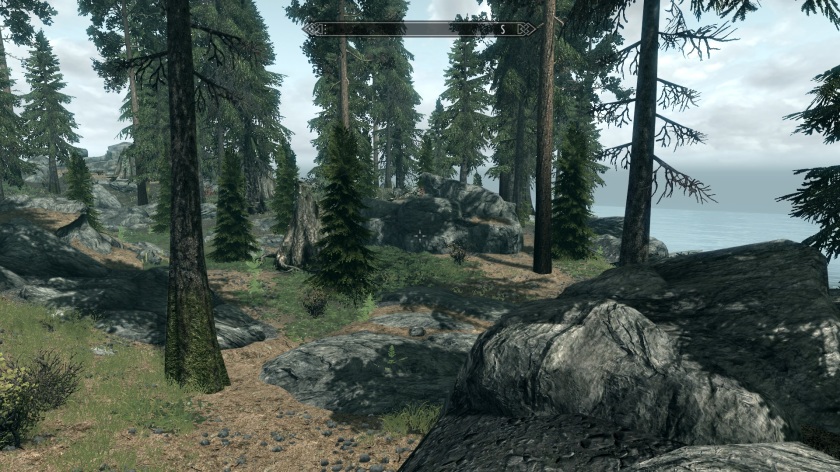
To check out your worldspace in-game, open Skyrim with your new .esp active and open the console with ~. Type cow “yourworldspacename” 0,0. Hit Enter. If you like what you see, then move on to LOD generation. If not, head back to Photoshop, make whatever adjustments are necessary, and repeat the .esp generation with TESannwyn.

ScreenShot468.jpg

Not bad.

The Skyrim Creation Kit can have issues opening large worldspace .esps. To get around this, I convert my new .esp into an .esm, or mater file. I do this using Wrye Bash. Open Wrye BAsh, find your new .esp (most likely still named tesannwyn.esp) and right click on it. I duplicate the file, rename it to the name of my mod, and then select Copy to ESM from the right click menu. Now I have an .esm file. I open this in the Creation kit, load in the Skyrim .esm, and save a new .esp. I like to maintain redundant files so that if something catatrophic happens I have a backup. By default, the Creation kit will only load one master file and will crash when trying to load multiple esms. To get around this, open your SkyrimEditor.ini and add bAllowMultipleMasterLoads=1 under General.

If your copy of the Creation Kit crashes every 15 minutes, give this fix a try: Open SkyrimEditor.ini and add bEnableAudio=0 to the [Audio] section (if it has bEnableAudio=1 already, set it to 0). This worked for me. I can now leave the creation kit open for hours without a single crash. There is one caveat to this: With this .ini edit, the creation kit will crash on exit and will have to be closed using the task manager. I always save my .esp before closing, so this isn’t an issue for me.

LOD can be generated either in the Creation Kit or using OSCAPE. I’ve used both, but for this worldspace, I’m using the Creation Kit. In the kit, go to World>World LOD. Select your worldspace. We will generate LOD terrain, normals, and diffuse colors (textures) separately. Doing all three at once causes the kit to crash. I start with terrain by selecting Distant Terrain/Water and making sure Distant Objects, Trees, Normals and Diffuse Colors are unselected. Hit Generate. This will take some time. You can choose to run the generation in the background or high priority. High Priority will go faster, but will use most of your computer’s power. Repeat this process with Normals and Diffuse Colors. If you would like to use OSCAPE, check out this guide. Once finished, you will have to move the texture files from Steam/steamapps/common/Source to Skyrim/Data/Textures/Terrain. Check out this guide for creating LODS with the Creation Kit for more information and what to do to prevent black striping.


Sh*t Happens

meshprob03.PNG

Can you see the problem in the image above? I can.

Skyrim Creation Kit, also known as the buggiest program in history, destroyed my  coastline along Farwind Point and most of the southwest coastline. I do not have a clean backup available. Back up your .esp at regular intervals!

So what happened? I decided that the western cliffs were too high and too straight, looking like they were just where the map ended (which they were), so I decided to open up the heightmap editor inside the Creation Kit and lower the cliffs and change the western coastline to look a bit more natural. This was supposed to be faster than editing by hand in the render window. Instead, something went wrong.

meshprobl04.PNG

Really, really wrong.

Skyrim’s heightmap editor is basically defunct and really should only be used to import heightmaps into the game (there are better ways to do this, though), but can be used to make localized adjustments, like I was trying to do. Elevation is displayed via a color gradient. In Skyrim, black is the lowest point on the map, ranging upward through blue, red, white, and apparently green, magenta and gray as well. Up until now, my ocean basin has been displayed as flat gray in the heightmap editor. It should have been black. As this showed up fine in game (no tearing of terrain or other signs of problems, I chose to ignore it. Bad move. As far as I can tell, what should have been my ocean basin was instead a flat terrain so high in the sky that it was unconnected from the landmass and so high as to not render in either the Creation Kit or in-game. When I lowered the western cliffs and saved the edited heightmap, parts of this floating “ocean basin” became connected again, resulting in the huge mesh errors you can see in these screenshots.

meshprob02

So what can I do?

Once I stopped swearing at my monitor, I set to trying to fix this mess. I have a couple of choices at this point. I can attempt, through the hiehgtmap editor, to manually lower all of the ocean basin to the correct level. All of it, all the way around. Of course, the portions of the map I have the most work in, Farwind Point and Darkwater Sound, are the most severely effected. I will likely have to redo most of the landscape design along the coast. I can’t guarantee that subsequent saving of the heightmap won’t create more errors. This is probably the only way I can save the work I’ve already done. I only have about a week and a half of work into this mod at this point, so starting over wouldn’t be a huge hit (just to my morale). Option two is to try to import a new heightmap into my existing .esp. I don’t even know if this is possible, but I may try to find out using a copy .esp. Option three is to start over from scratch with a new worldspace .esp generated with TESanwynn. There are things I would like to change about the hieghtmap, including the west and east coasts and the depth of lakes and rivers, which mostly get obliterated when lowering the grayscale values to levels able to be accepted by Skyrim.

The moral of the story? Back up your files and make duplicates! Redundancy is your friend!

The Landscape of Amblu Kai

ScreenShot437

The land of Amblu Kai is loosely based off of Northern California. The heightmap itself is created from real-world terrain. If there is enough interest, I’ll put up a tutorial on how I imported a real-world landscape into Skyrim.

The new landscape is both similar to and different from vanilla Skyrim and will use a mix of vanilla and custom assets. First and foremost, I wanted a lighter pine needle texture to use as a base for much of the landscape. In Photoshop, I first opened the vanilla PineForest01 texture after unpacking the .bsa archive with BSAopt. I added a new layer, filled that with a pale tan color, and set that layer to Overlay, which gave me a nice, lighter pine needle texture. I then saved the new texture as a .dds file (requires the nVIDIA .dds plugin) saved with interpolated alpha into the Skyrim directory data/textures/landscape. Going into the Creation Kit, I added the new texture as a paintable ground texture by first creating a texture set, then a new landscape texture, called PineForest04. I added two grass objects to PineForest04, called RocksGrass and FieldGrass01. In the above screenshot, you can see the new texture with both the rocks and the green grass. I also created a second new texture, PineForest04NoGrass, without the rocks and grass assets for use in areas where I didn’t want grass and rocks. At this point, I’m pretty happy with the new texture.

ScreenShot432

The trees of Amblu Kai will reflect the tree species of the mountains of northeastern California. The main tree species will be: Ponderosa Pine (a long-needled pine found in lower elevations), incense cedar, white fir, red fir, white pine, whitebark pine, and mountain hemlock.

Creating these new tree species will involve both retexturing vanilla tree assets, retexturing custom trees from fellow modders on the Nexus, and altering existing models in Blender to create brand new trees.

Vanilla Skyrim is a bit limited in tree variety. From a bioloigcal standpoint, all vanilla “pine trees” appear to actually be the same species of fir. I want Forsaken to reflect the natural biodiversity of a real landscape and custom trees will help achieve that goal. First up is the red fir, the dominant tree species above 6,500 ft elevation:

ScreenShot444

Not bad, but not perfect. I took a custom tree model from GBK Green Trees mod and added a darker, slightly reddish bark texture and darker, bluish-tinged needle texture. I’ll need to redo the bark texture, but so far its looking good.

ScreenShot445

Ponderosa pines, being a long-needled pine, will require a brand new texture. GBk Green Trees mod contains a few excellent giant redwood/sequoia models which will stand in perfectly for my BOP (big ol’ Ponderosas). Mountain hemlocks, which often sport double crowns, missing branches and other unique characteristics, will require new models, as will whitebark pines. Whitebark pines will be found only at the highest elevations.


Forsaken: The Mountain of Fire


Making a new worldspace for Skyrim is a daunting task. Amblu Kai, the landmass for Forsaken, is built with a 4096×4096 heightmap and is slightly larger than Skyrim itself. Skyrim’s heightmap is 3808×3808 pixels, not all of which is playable. The majority of the heightmap for Amblu Kai is playable.

The idea for this mod has been brewing for some time. I made a valiant attempt at getting it started a few years ago, but most of that work (it wasn’t all that good anyways) was lost when my old computer died. Back up your work, folks!

At this point, I have made the heightmap, created an .esp file using TESanwynn, converted the landmass .esp into an .esm, and generated the base LOD. I’ve begun the nitty-gritty of designing the landscape via region generation, hand-painting the terrain and placing cliffs, rocks and flora. Its a slow process and I don’t currently have any idea of when I might be done. I’ll be posting various updates on my progress and possibly some tutorials on creating some of the custom content that will be going into this project.

So what will this include? 1. a huge, brand-new worldspace to explore. 2. A new main quest to uncover the mystery of Amblu Kai and find the way back to Skyrim. 3. New radiant quests. 4. New creatures, monsters, plants and trees.